This recipe is not for the timid baker. It will take time and patience. It will make you use ingredients and utensils that you probably have not used before. This recipe was my pick for our online baking group, “Chocolate With Francois”.
I’ll let you know what I thought about the results of this cake at the end of my post. Practice the patience needed for making it and don’t skip to the end, but read on with an open mind.
Step one: Make the Sacher Cake: “A classic chocolate cake with intense chocolate flavor”. Page 248 of our book “Chocolate Epiphany” by Francois Payard. Note: I made this 1 week before I planned on serving the cake. Wrapped it up well and froze it until ready to use.
- Cooking Spray for the pan
- All Purpose flour for the pan
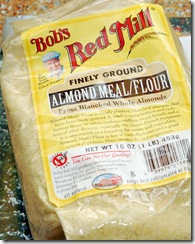
- 3/4 c almond flour

- 1/3 c plus 1 TBS sugar
- 6 large egg whites
- 6 large egg yolks
- 1/4 c Cocoa Powder, sifted
Preheat oven to 400 F. Line a 10 x 15 rimmed baking sheet with parchment.
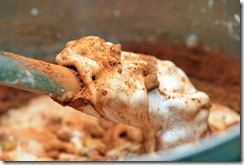
Place the flour, 1/3 cup of the sugar, 3 egg whites and all of the yolks in a large bowl and beat with an electric mixer until double in volume and pale yellow (10 min.).
Place the remaining 3 egg whites in a bowl and beat on medium high speed until whites hold soft peaks. Add, gradually, the remaining 1 TBS sugar. Beat until stiff peaks form.
Use a silicone spatula (greaseless utensil), fold the cocoa powder into the yolk mixture.
Put into the prepared baking sheet and into the oven. Reduce heat to 375 F and bake about 9 minutes. Let cool.
Step 2: Make the Chocolate Layer (the shiny top):
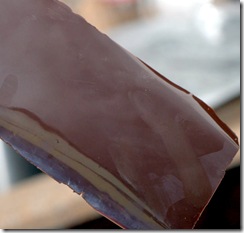
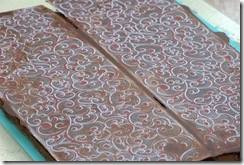
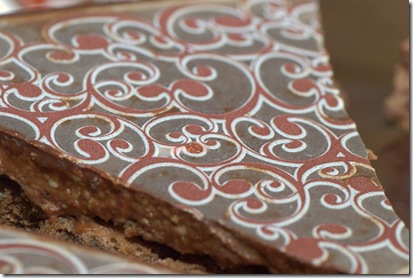
- 1 5×15 inch piece of acetate sheet *This is necessary if you want a shiny surface. If not, and you don’t want to spend the money, an alternative is to use edible images.

- 2 oz 72% chocolate –chop
- 1 oz 100% chocolate – chop
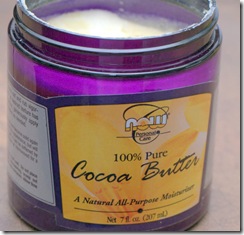
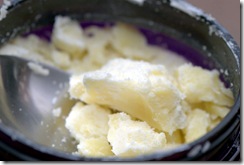
- 3 TBS melted cocoa butter *NOW has a food grade cocoa butter available.


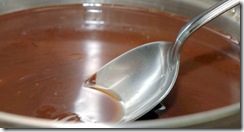
Use a double boiler and heat the water to a gentle simmer. Add the chocolate and cocoa butter in the top pan. Stir occasionally until all is melted and mixture is smooth.
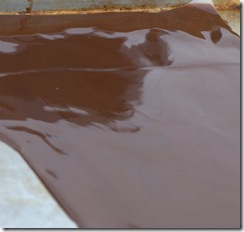
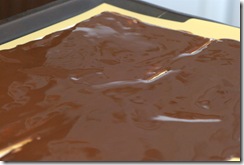
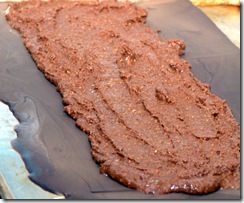
Spread the mix on the acetate or the edible image. Very thin layer – should barely cover it. *If you use the edible image, it probably won’t be 15” long so use two of them.
Move the acetate (or image) to a baking sheet and refrigerate until the chocolate sets (15 minutes) or prepare a day or so ahead and keep cool until ready to use.
Step 3: Make the Pine Nut Filling: This is very Pine Nutty in flavor. So … if you’re not a fan of pine nuts, substitute for another nut.
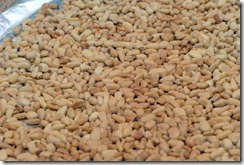
- 1 2/3 c pine nuts – toasted (put on aluminum foil in a 400 F oven and watch carefully until they just start to brown. Once they begin browning, they will burn quickly – keep an eye on them.

- 3 1/2 oz 64% chocolate – chop
- 3 1/2 ox milk chocolate –chop
- 2 TBS melted cocoa butter *see above
- 3 TBS unsalted butter, softened and cut into pieces.
- 1/4 tsp salt
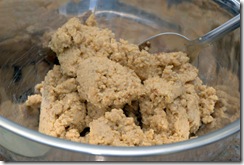
Puree the nuts in a food processor until they form a paste.
Combine the two chocolates and cocoa butter in a double boiler. Use the same method as above to melt the chocolates and make smooth.
Remove from heat and combine with the pine nut paste. Stir in the butter and salt. Let cool to room temperature.
You will now need your SACHER CAKE.
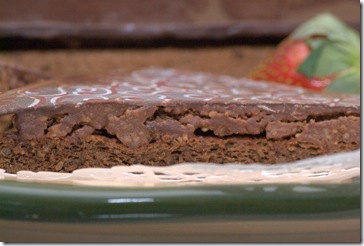
Spread 1/2” of the cooled mixture onto the cooled and set chocolate layer.
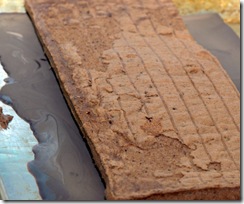
Place the Sacher Cake on top of the pine nut filling and press slightly so it sticks.
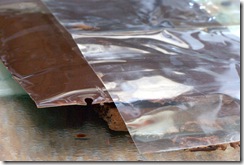
Cover with plastic wrap and chill for at least 1 hour or up to 1 day.
Step 4: Just when you thought you were finished…. you need instructions to cut this cake.
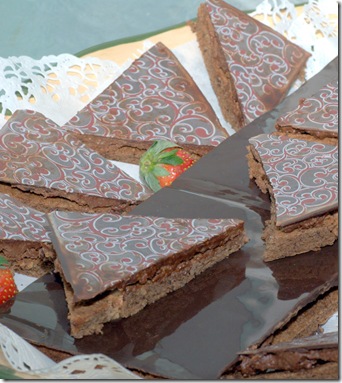
One hour before serving, remove from refrigerator. Invert the prepared cake on a large, clean cutting surface so the shiny chocolate is on top. Remove the acetate. Use a hot knife (simply dip in very hot water, wipe the water off) trim off the edges to get even looking sides.
Using the hot water again, dip the knife into the hot water and wipe off the water. Cut the cake into 5 equal, 3” wide rectangles (or whatever shape you want). After each cut, dip the knife, wipe the knife and cut. Place on platter and serve.
You waited so long…what did I think?
I didn’t like the cake. It was not really sweet. I used too much pure chocolate and not enough milk or 62% chocolate.
Ted thought it was ok as did Jackie. Jackie’s comment was “I like dark and bitter”….hmmmm? 
Anyone else who tried it at our party did not offer comment. I can only assume they were with me on this one.
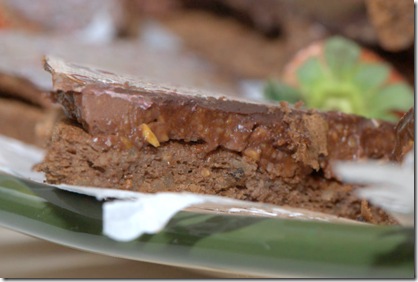
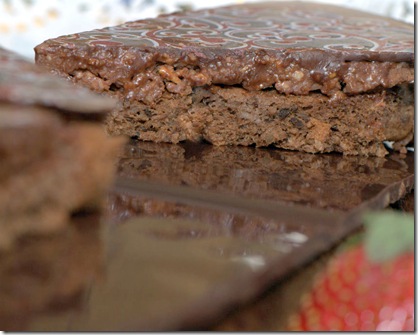
It is an interesting cake to look at, but it is a complete disappointment to go through all that time and effort to get a “just ok” result. It isn’t worth the calories nor all the expense of the special ingredients and equipment. Sorry Francois, you failed on this one.
Joanne


I’m in agreement. This cake was just so-so, especially for the amount of time and expense. Hey, live and learn, right? You did a fantastic job blogging about this Joanne!
Well at least is was gorgeous in photos. You need to post them on foodgawker.
Oh I do not like hearing that. I’m making it tonight, and I’ve already bought everything for it. I wonder what I can do to “fix” it a little.
I’m sorry, Joanne, I did mean to comment whilst at the party…the cake looked gorgeous, but surprisingly had very little taste. Not chocolatey, not much of anything. Please know we do appreciate all the time & effort you put into everything you make, and you’re so good to share with us!
I’ve never seen a turrron like this, absolutely magnificent, the garnishing on top is wonderful 🙂
Happy and Joyful New Year 2010 for you!!
All the best,
Gera
Sorry you were disappointed with the cake! It looks beautiful and your post about it is very informative!
I passed on this one, the weather has messed up my schedule. 15+ Inches of snow!
Happy New Year!
Thanks everyone for your comments.
Nancy: The only person who liked it at the party was Jackie but she told ME that she liked
bitter flavors. Oh well???…. next time.
Joanne, I think everyone agrees this was a lot of fuss and very little satisfaction. However, making mine in individual ramekins did make it a bit easier.
I love the fact that you used an edible image. I have been eying that process for a long time.
Despite the results, your tutorial was magnificent. Your photos were even better.
I struggled with making this all month but I had issues with some of the ingredients and finally decided to drop it. The challenge would have been good for me, though. Sorry, I did not join in.
I felt the same way about this cake. A lot of trouble for not a lot of reward. I had never tried pine nuts before and was very excited to try this cake. Next time I will skip the pine nuts and sub almonds or hazelnuts instead. Your post was wonderful, even if the cake wasn’t. 🙂 Oh, and please forgive my late post. Totally forgot~ :}