UPDATE: My blog might be down for a day or so because I am switching it over. I’m not real good and definitely not patient with computer stuff so I don’t know how long it will take to get it right. Don’t give up on me … I will be back!.
The first night of class. It has been SOME time since I’ve been in a class. What fun! We had a room of 8 students, supposed to be 10 but we had 2 no shows. Class began at 6:30 pm and ended at 9:30 pm. By about 8:45, my eyes were beginning to blur a little but the mind was still alert which was suprising considering usually by that time the senses are shutting down and getting ready to turn off completely for the night.
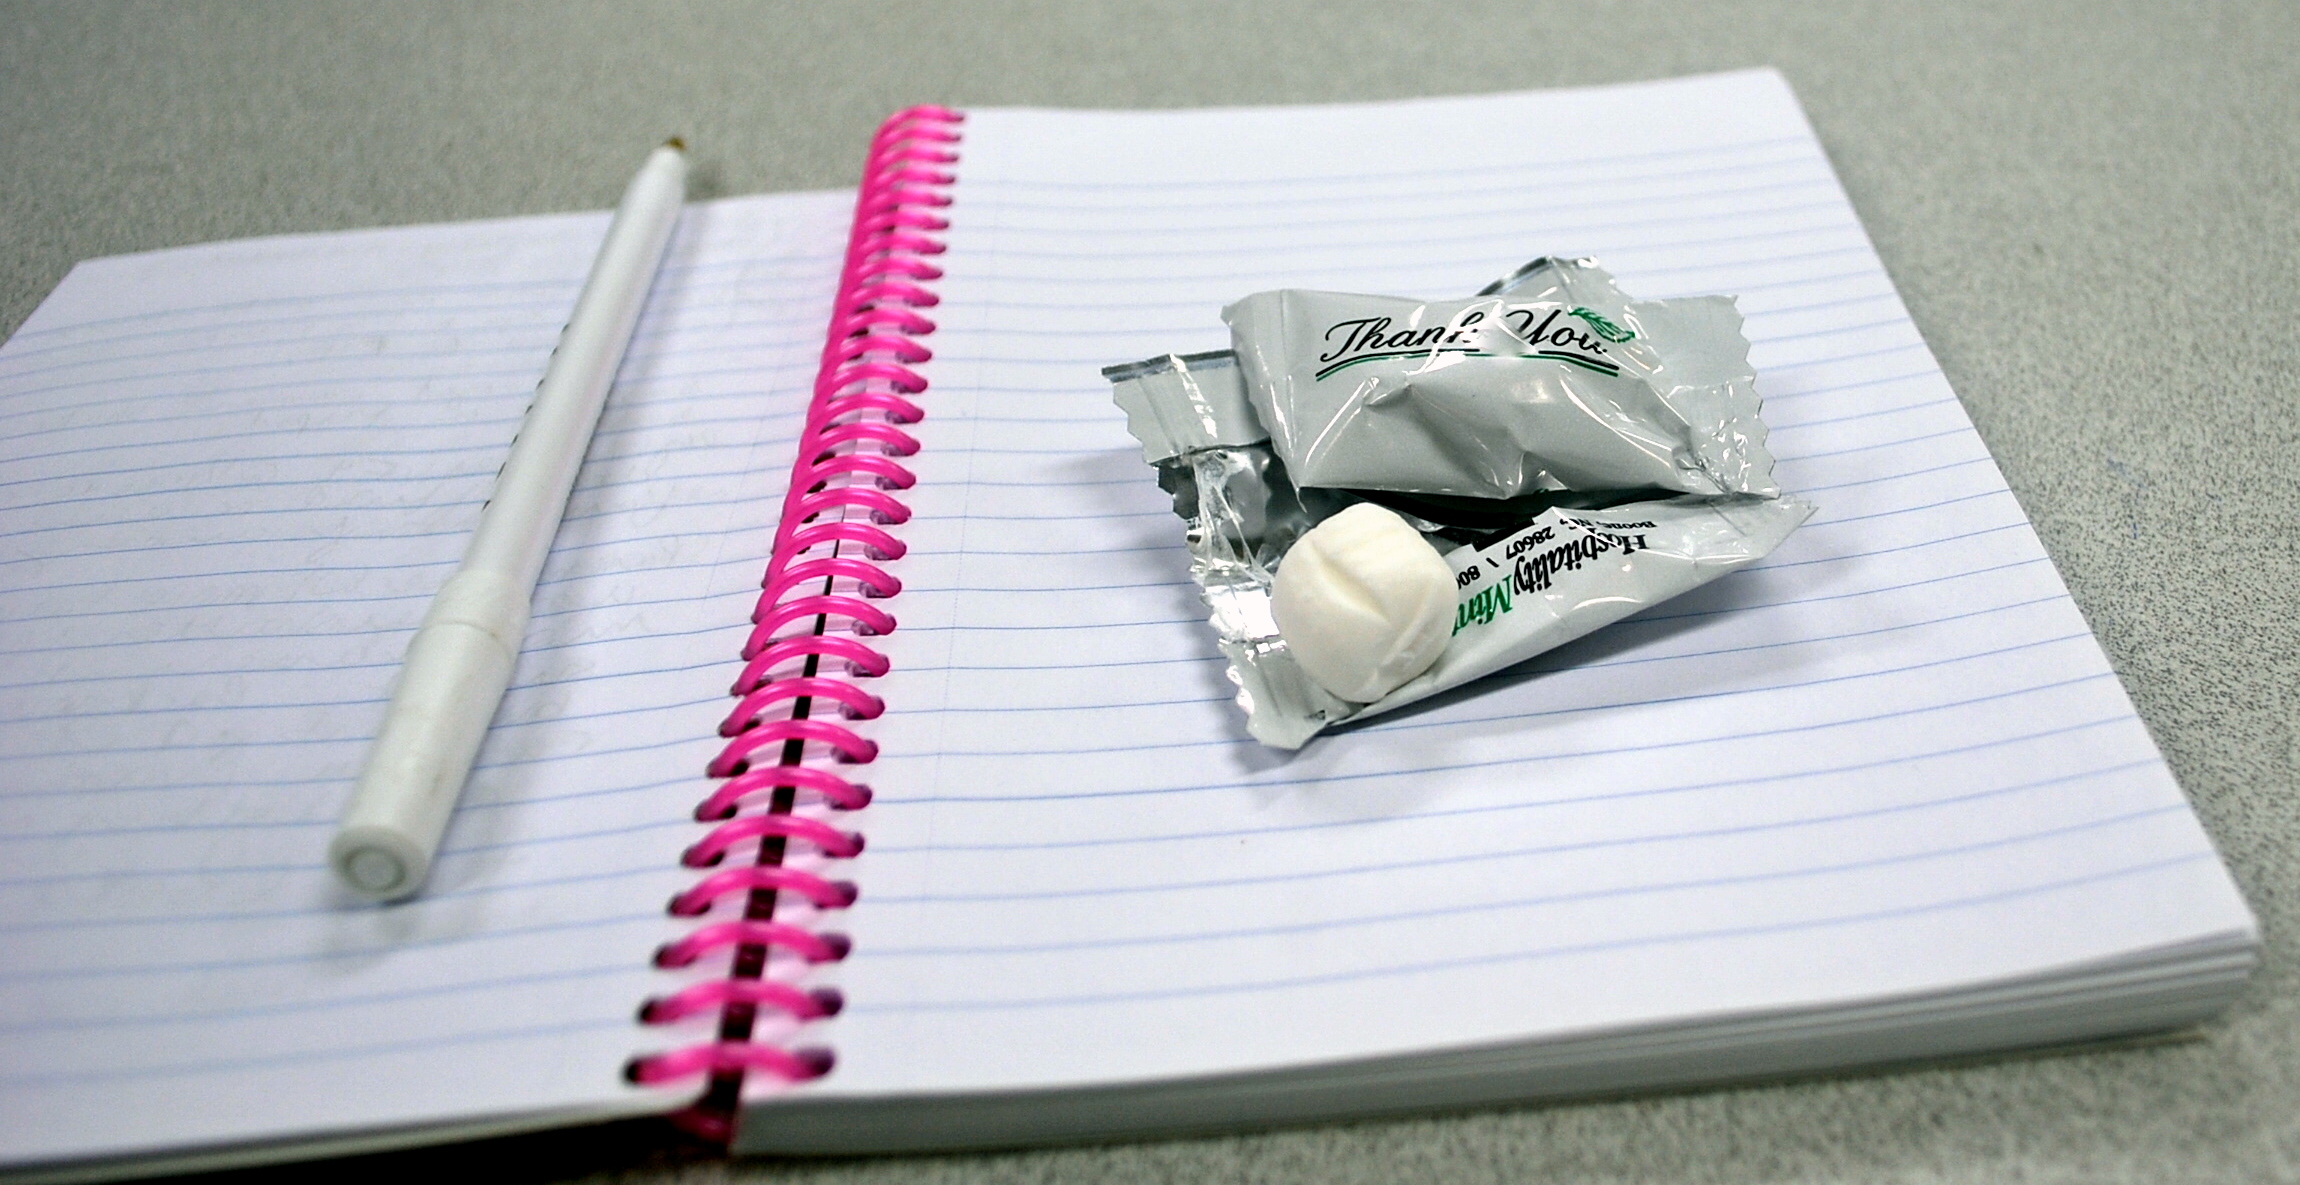
I knew this was going to be a good class because one of the students brought a bag of mints and tossed them onto the table to share….who knew this was going to involve food!  What was even more interesting, this same “minty” guy has a restaurant locally and is also interested in photographing food! Small world.
I ended up with 7 1/2 pages of notes. There was so much covered and most of it I’m still unsure of so here are simply basic settings that I will share and promise more when specifics get a little clearer.
1. Take your camera out of AUTO mode.
2. Don’t use the flash – use natural light if possible.
3. Shoot with the maximum pixels your camera will offer.
4. The larger the ISO setting, the “grainier” the photo. Shoot at 200 most of the time. The ISO of 100 is not a true setting on my camera apparently. Hmmmm… I have a FAKE ISO!
For taking photos of food, course it depends on light and other factors but for the most part, an F 11 or F16 is a good setting. That would be the F Stop which controls the size of the aperture.
I noted that the “P” setting or Program mode on my camera might be the best setting. That will automatically set the shutter and aperture for me and about 90% of the time, give the ideal setting.
That’s it for now more next week and hopefully it will all come together to make a bit more sense.
How about a recipe?…
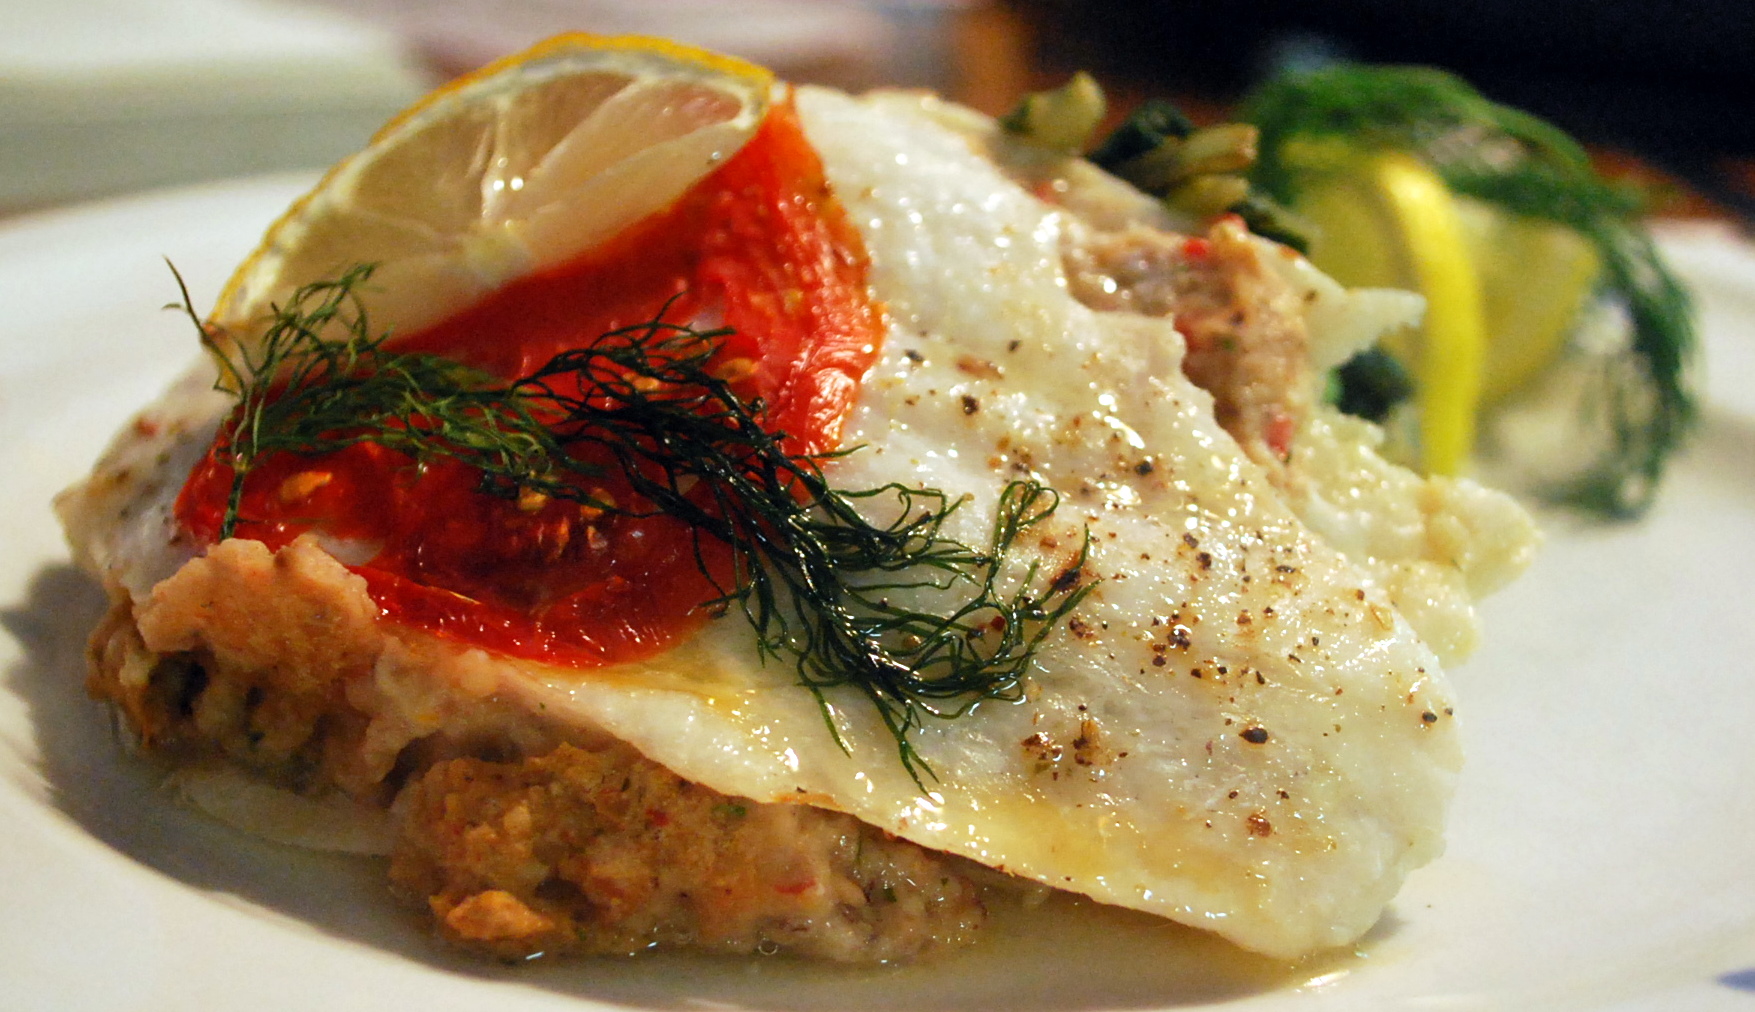
Something different to do with fish and a stuffing. Sole is thin, it lends itself to stuffing. There were quite a few cans of black eyed peas in the pantry…the thought gears started humming.

- 1 lb sole fillets
- 1/3 cup Blackeyed Peas, mashed
- 1 TBS mustard
- 2 TBS Italian Cheese mix (Parmesan, Asiago, Romano)
- 2 sprigs fresh dill – chop
- 1 chopped sun dried tomato – from oil
- salt and pepper
- 1 TBS Veggie Broth
- 1 TBS EVOO
- Fresh dill
- Tomato Slices
Preheat oven to 425 F. Coat a baking pan bottom with melted SmartBalance or butter. Lay one layer of fish fillets on the bottom of the baking dish. Do not overlap. Salt and pepper these fillets. Now mix the Blackeyed peas (mashed) with mustard, cheese, dill, s.d.tomato, salt and pepper and 1 TBS Veggie broth.

Top the fish layers with this mixture.

Top the covered fish layers with another fish fillet.
Sprinkle top fillet with EVOO, salt and pepper. Lay a slice of tomato on top and a sprig of dill.

Bake 20 minutes – uncovered.
Serve with sauted greens.


Wow and your photo looks amazing too! I love sole stuffed or rolled up it tastes so delicate. Lovely meal I would have seconds for sure.
Looks good 😉 Stay out of P mode, it makes new photographers too lazy. Stick to Aperture Priority where you can have more control over your depth of field.