Congratulations, Richard, on your retirement!
We are celebrating Richard’s retirement today with a family gathering at Hotel Utica and Apple Crumbles is bringing the cake. This cake consists of 4 layers. Two of traditional chocolate cake and two layers which are a crisp almond meringue. They sandwich a rich chocolate mousse. The topping is a smooth chocolate buttercream with Callebaut milk chocolate curls. On the center of the cake, I have put a “scroll” made of Callebaut white chocolate and corn syrup to form “chocolate plastic”. The sides are frosted in a white buttercream and finished with an “Edible image” of chocolate swirls. Read on friends to see how easy this somewhat detailed cake actually is. The basic idea, almond sugar, dijonnaise came from the book “The Art of the Cake” by Bruce Healy and Paul Bugat.
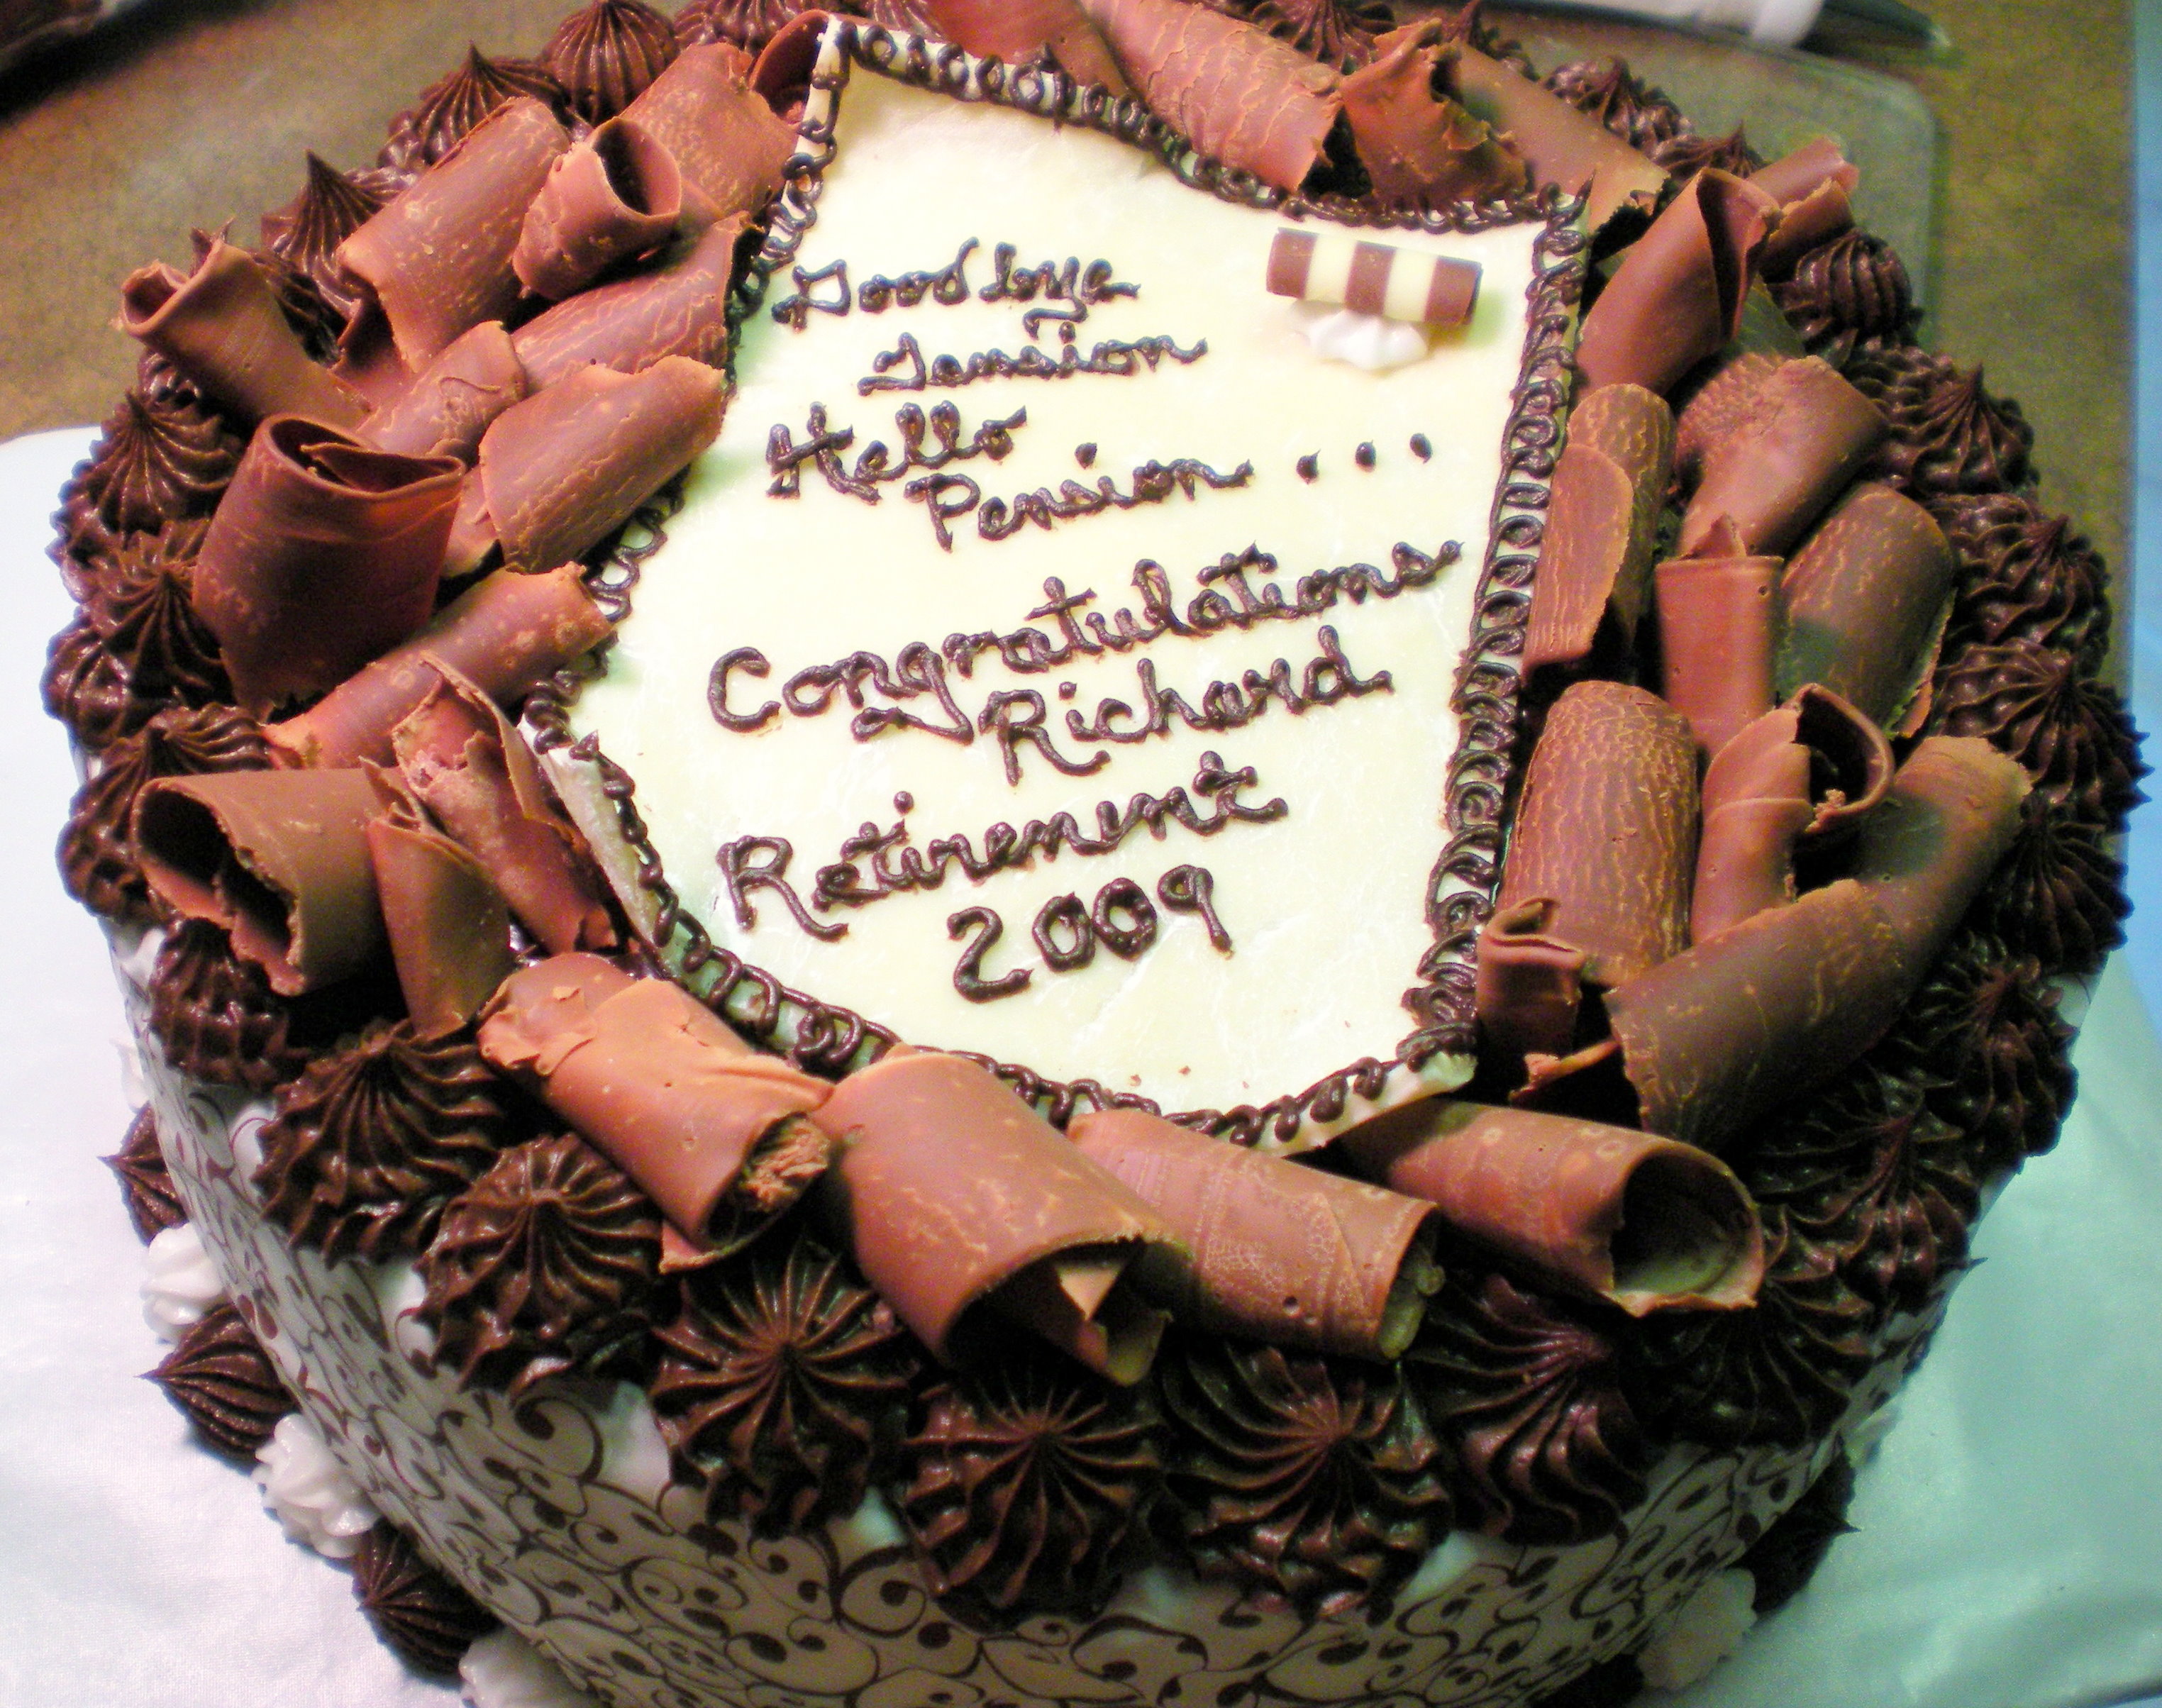
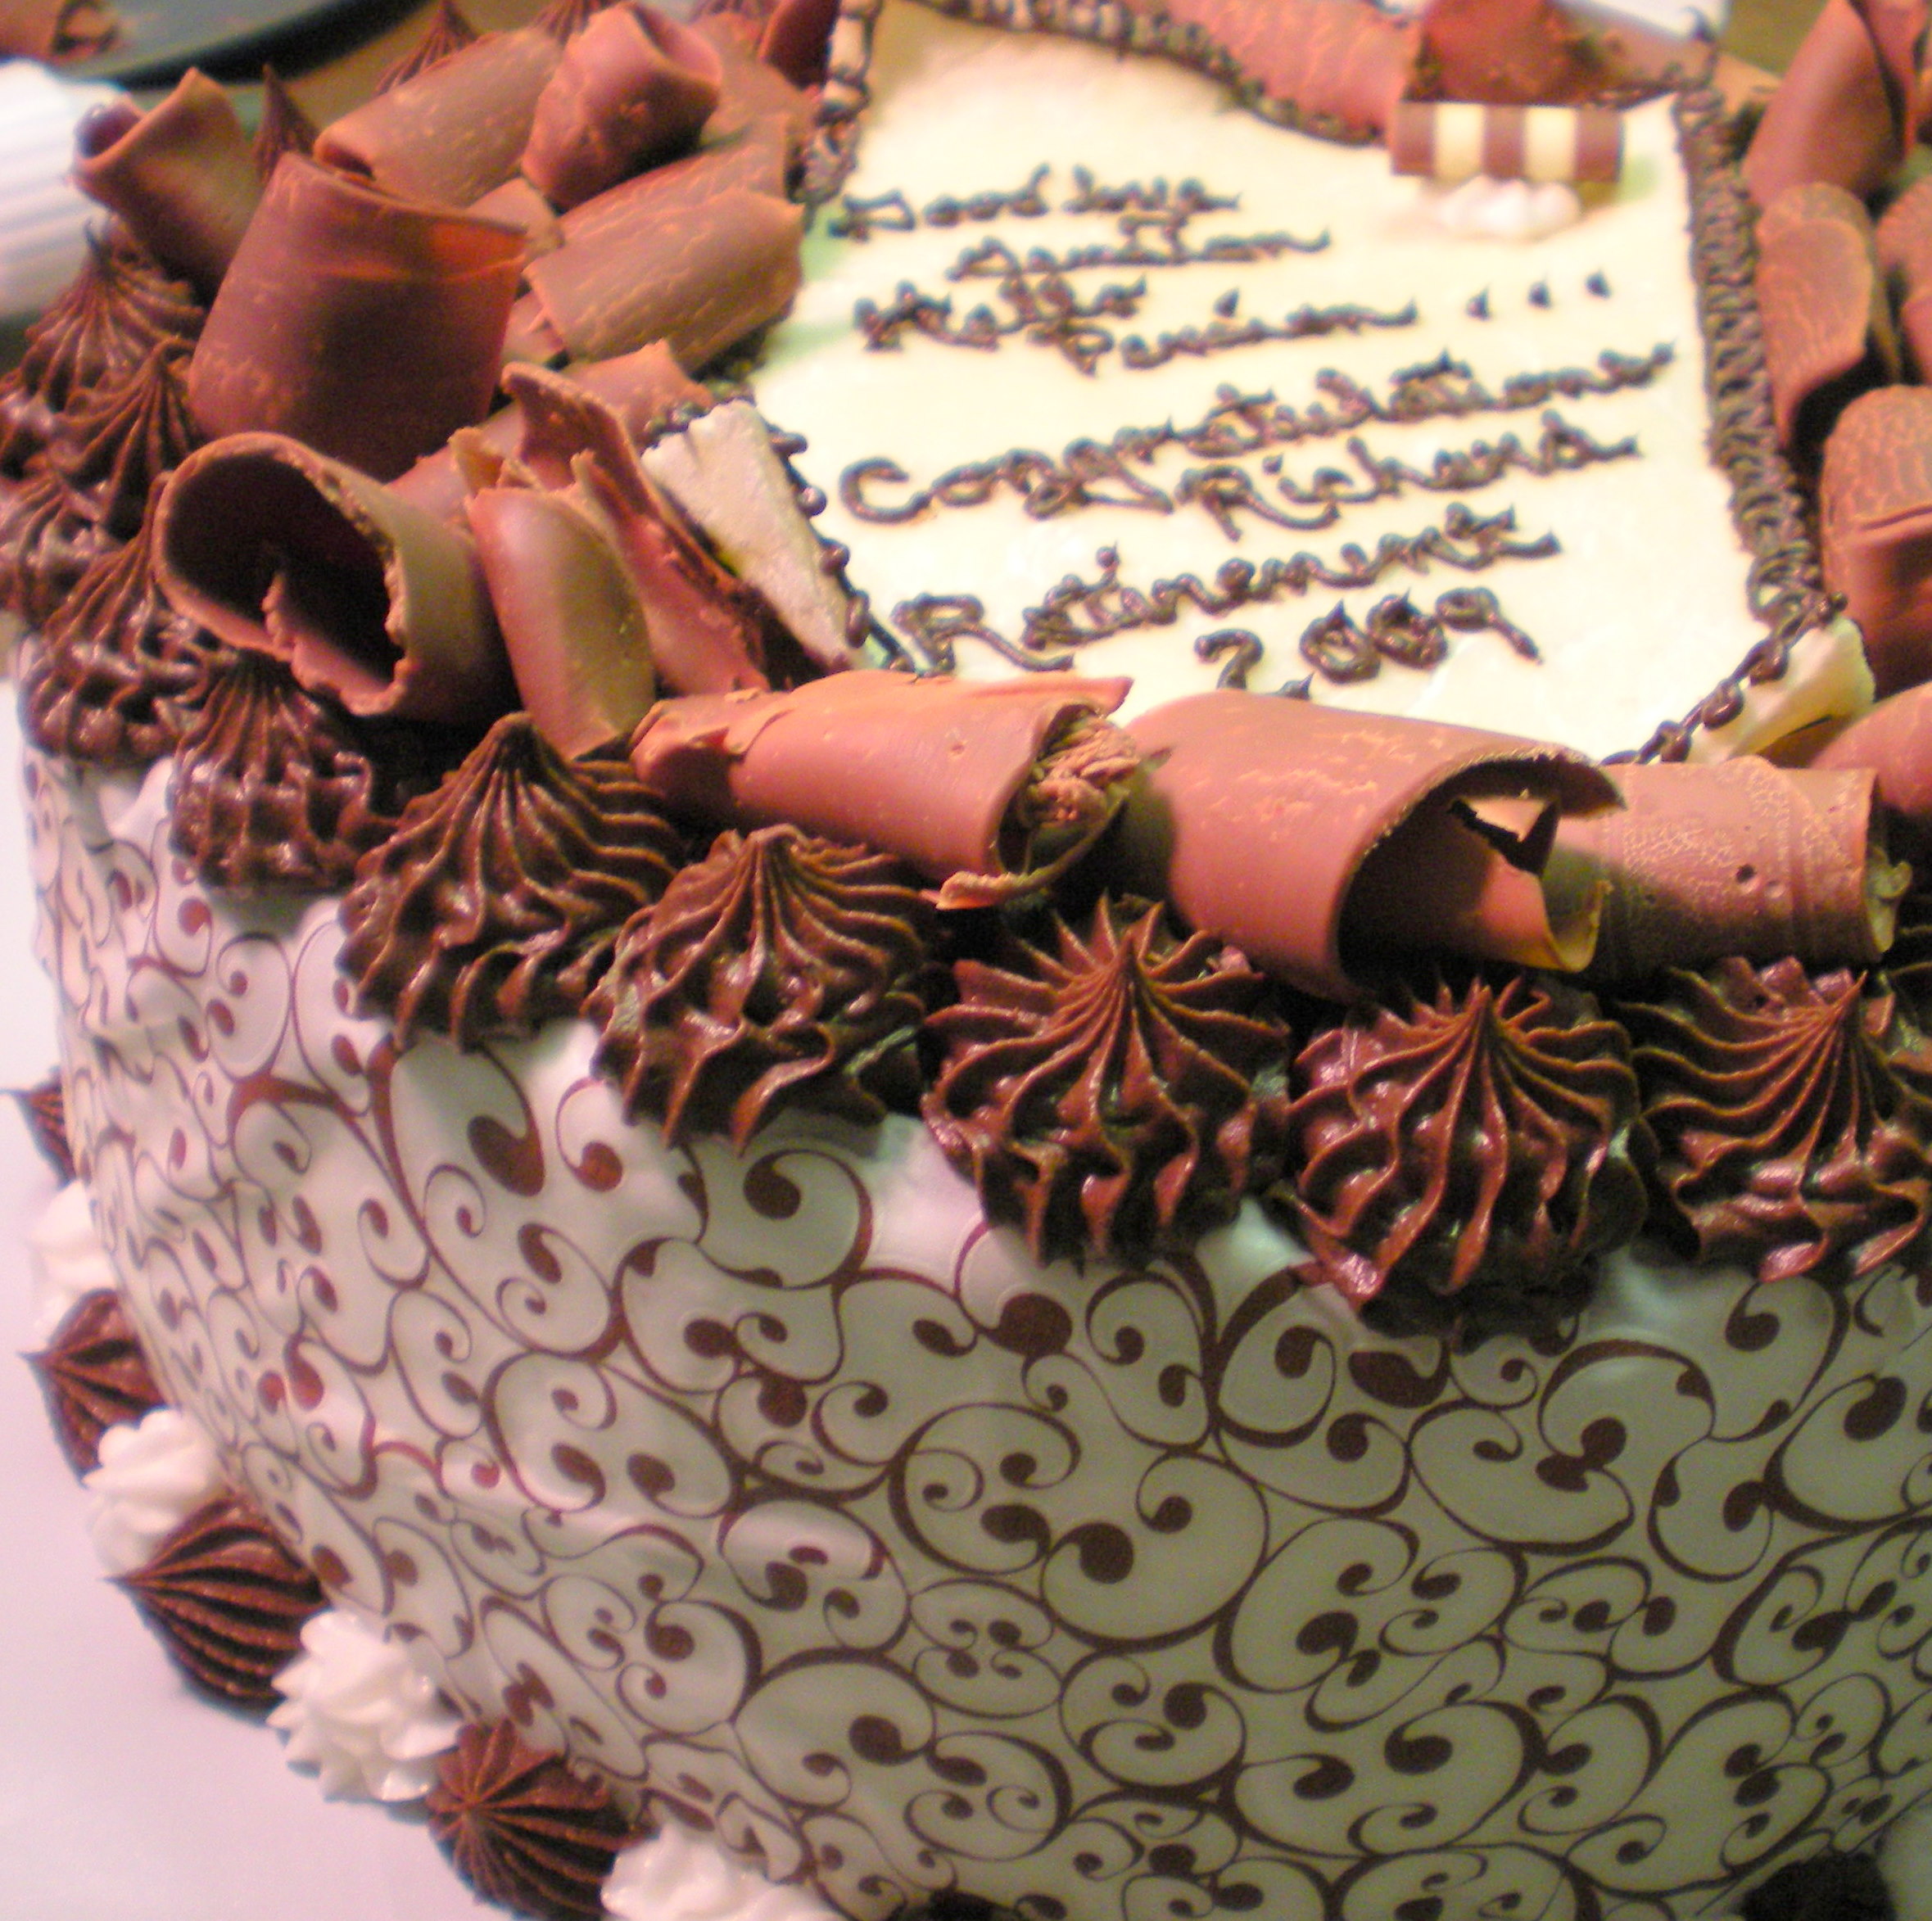
I’m going to take you through the steps of making a Modern French meets Traditional American celebration cake. Even though the details may seem lengthy, this is a very easy cake to make and assemble. Use 10″ round cake pans.
Step 1: Make the “Dijonnaise” ..NO! Not mustard! Dijonnaise is a crisp almond meringue that us used as a cake layer in this recipe. More often than not, you will use just the dijonnaise with a buttercream or a mousse in between. However, for this cake, the dijonnaise comprise the two middle layers between the two outer layers of traditional chocolate cake. The result is this 4 layer dream cake.
- 3/4 cup Confectioners sugar
- 1 1/4 cup Almond and sugar powder: 6 oz almonds an 1 1/3 cup confectioners sugar. Combine in a food processor and process until finely ground. Scrape sides and continue until a fine powder is reached. Be careful the mixture does not become oily (from the nut oil).
- 5 large egg whites – room temperature
- 1/4 tsp cream of tartar
- 1/3 cup fine sugar
- 3 TBS milk
Preheat the oven to 275 F. Make 2 circles from parchment paper the size of your cake pans. Line the bottom of the cake pan with the parchment. DO NOT grease the pans. Combine sugar with almond-sugar in large bowl. Whip the egg whites in a mixer on low until frothy. Add the cream of tartar and increase whipping speed, gradually, to medium high and continue until the whites form soft peaks. Add the fine sugar and continue whipping only for a few seconds longer. Stop immediately and stir the milk into the confectioners’ sugar mix. Add 1/3 of the meringue and quickly mix. Add the remaining meringue, gently folding it in.
Scoop the batter into your cake pans and bake right away for 1 hour 30 to 45 minutes. The dijonnaise should puff up, be dry and firm to the touch. BUT…be gentle. It is a meringue and may crack if poked. Let cool. Store up to 2 weeks in a dry place until ready to use. If it has softened, simply re-crisp by putting into a 250 F oven for 15 minutes.
Step 2: Use your favorite chocolate cake recipe and bake in the same size pans as the dijonnaise layers.
Step 3: Prepare your chocolate plastic.
- 1/2 lb white chocolate Note: If you use milk or dark chocolate, there are just a couple of changes. 1. For dark chocolate, increase corn syrup to 1/3 cup. and…2. For rolling the chocolate plastic out, use cocoa instead of confectioners sugar.
- 1/4 cup light corn syrup
- Food color if you want to color your decorations.
Put the chocolate pieces in a microwave safe dish and microwave 45 seconds at a time until you can stir all the lumps out. Add the corn syrup and stir until combined. Place it on a sheet of wax paper and wrap it up, securing it with plastic wrap. It needs to rest at least 6 hours before you begin forming. If you need to soften it, simply microwave at 10 second intervals until it is workable. If using food color, add at this point. Roll it out on confectioners sugar (or cocoa powder if using milk/dark chocolate). You can use chocolate plastic for any decorations and even to wrap cakes like you would use fondant.
Step 4: Prepare your chocolate curls
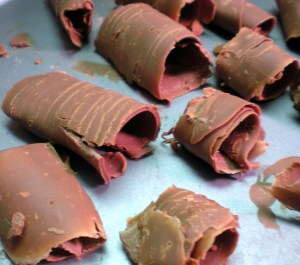
You need to temper your chocolate. I use Callebaut chocolate when making chocolate decorations as through taking different courses and seminars, it seems a unanimous opinion that Callebaut is about the best. However, it does need to be tempered. Here is a super link on how to temper chocolate.
You will use about 8 ounces. After tempering, let cool in a circle form on wax paper. Using a “carrot peeler”, drag it across the top of your chocolate to make large or small curls.
Step 5: The filling…Chocolate Mousse
- 1 ounce bittersweet chocolate, finely chopped
- 4 tablespoons unsalted butter
- 4 tablespoons strong coffee
- 1 2/3 cup cold heavy cream
- 6 large eggs, separated
- 2 tablespoon sugar
Whip the cream to form soft peaks, cover and refrigerate. Combine the chocolate, butter, coffee in the top of a double boiler over hot water, stir often until it is smooth. Remove from the heat and let cool it just feels warm.
Whip egg whites in a medium bowl until they are foamy. Sprinkle in the sugar and beat until soft peaks form.
When the chocolate is just warm, stir in the yolks. Very gently add about 1/3rd of the whipped cream. Add half the whites just until incorporated, then fold in the remaining whites, and the remaining whipped cream. Let chill overnight.
Step 6: Buttercream frosting
Use your favorite white and chocolate frosting recipes. Here are a couple of web references.
White Buttercream and Chocolate Buttercream
Note: I doubled these recipes for this cake.
Step 7: Assembly
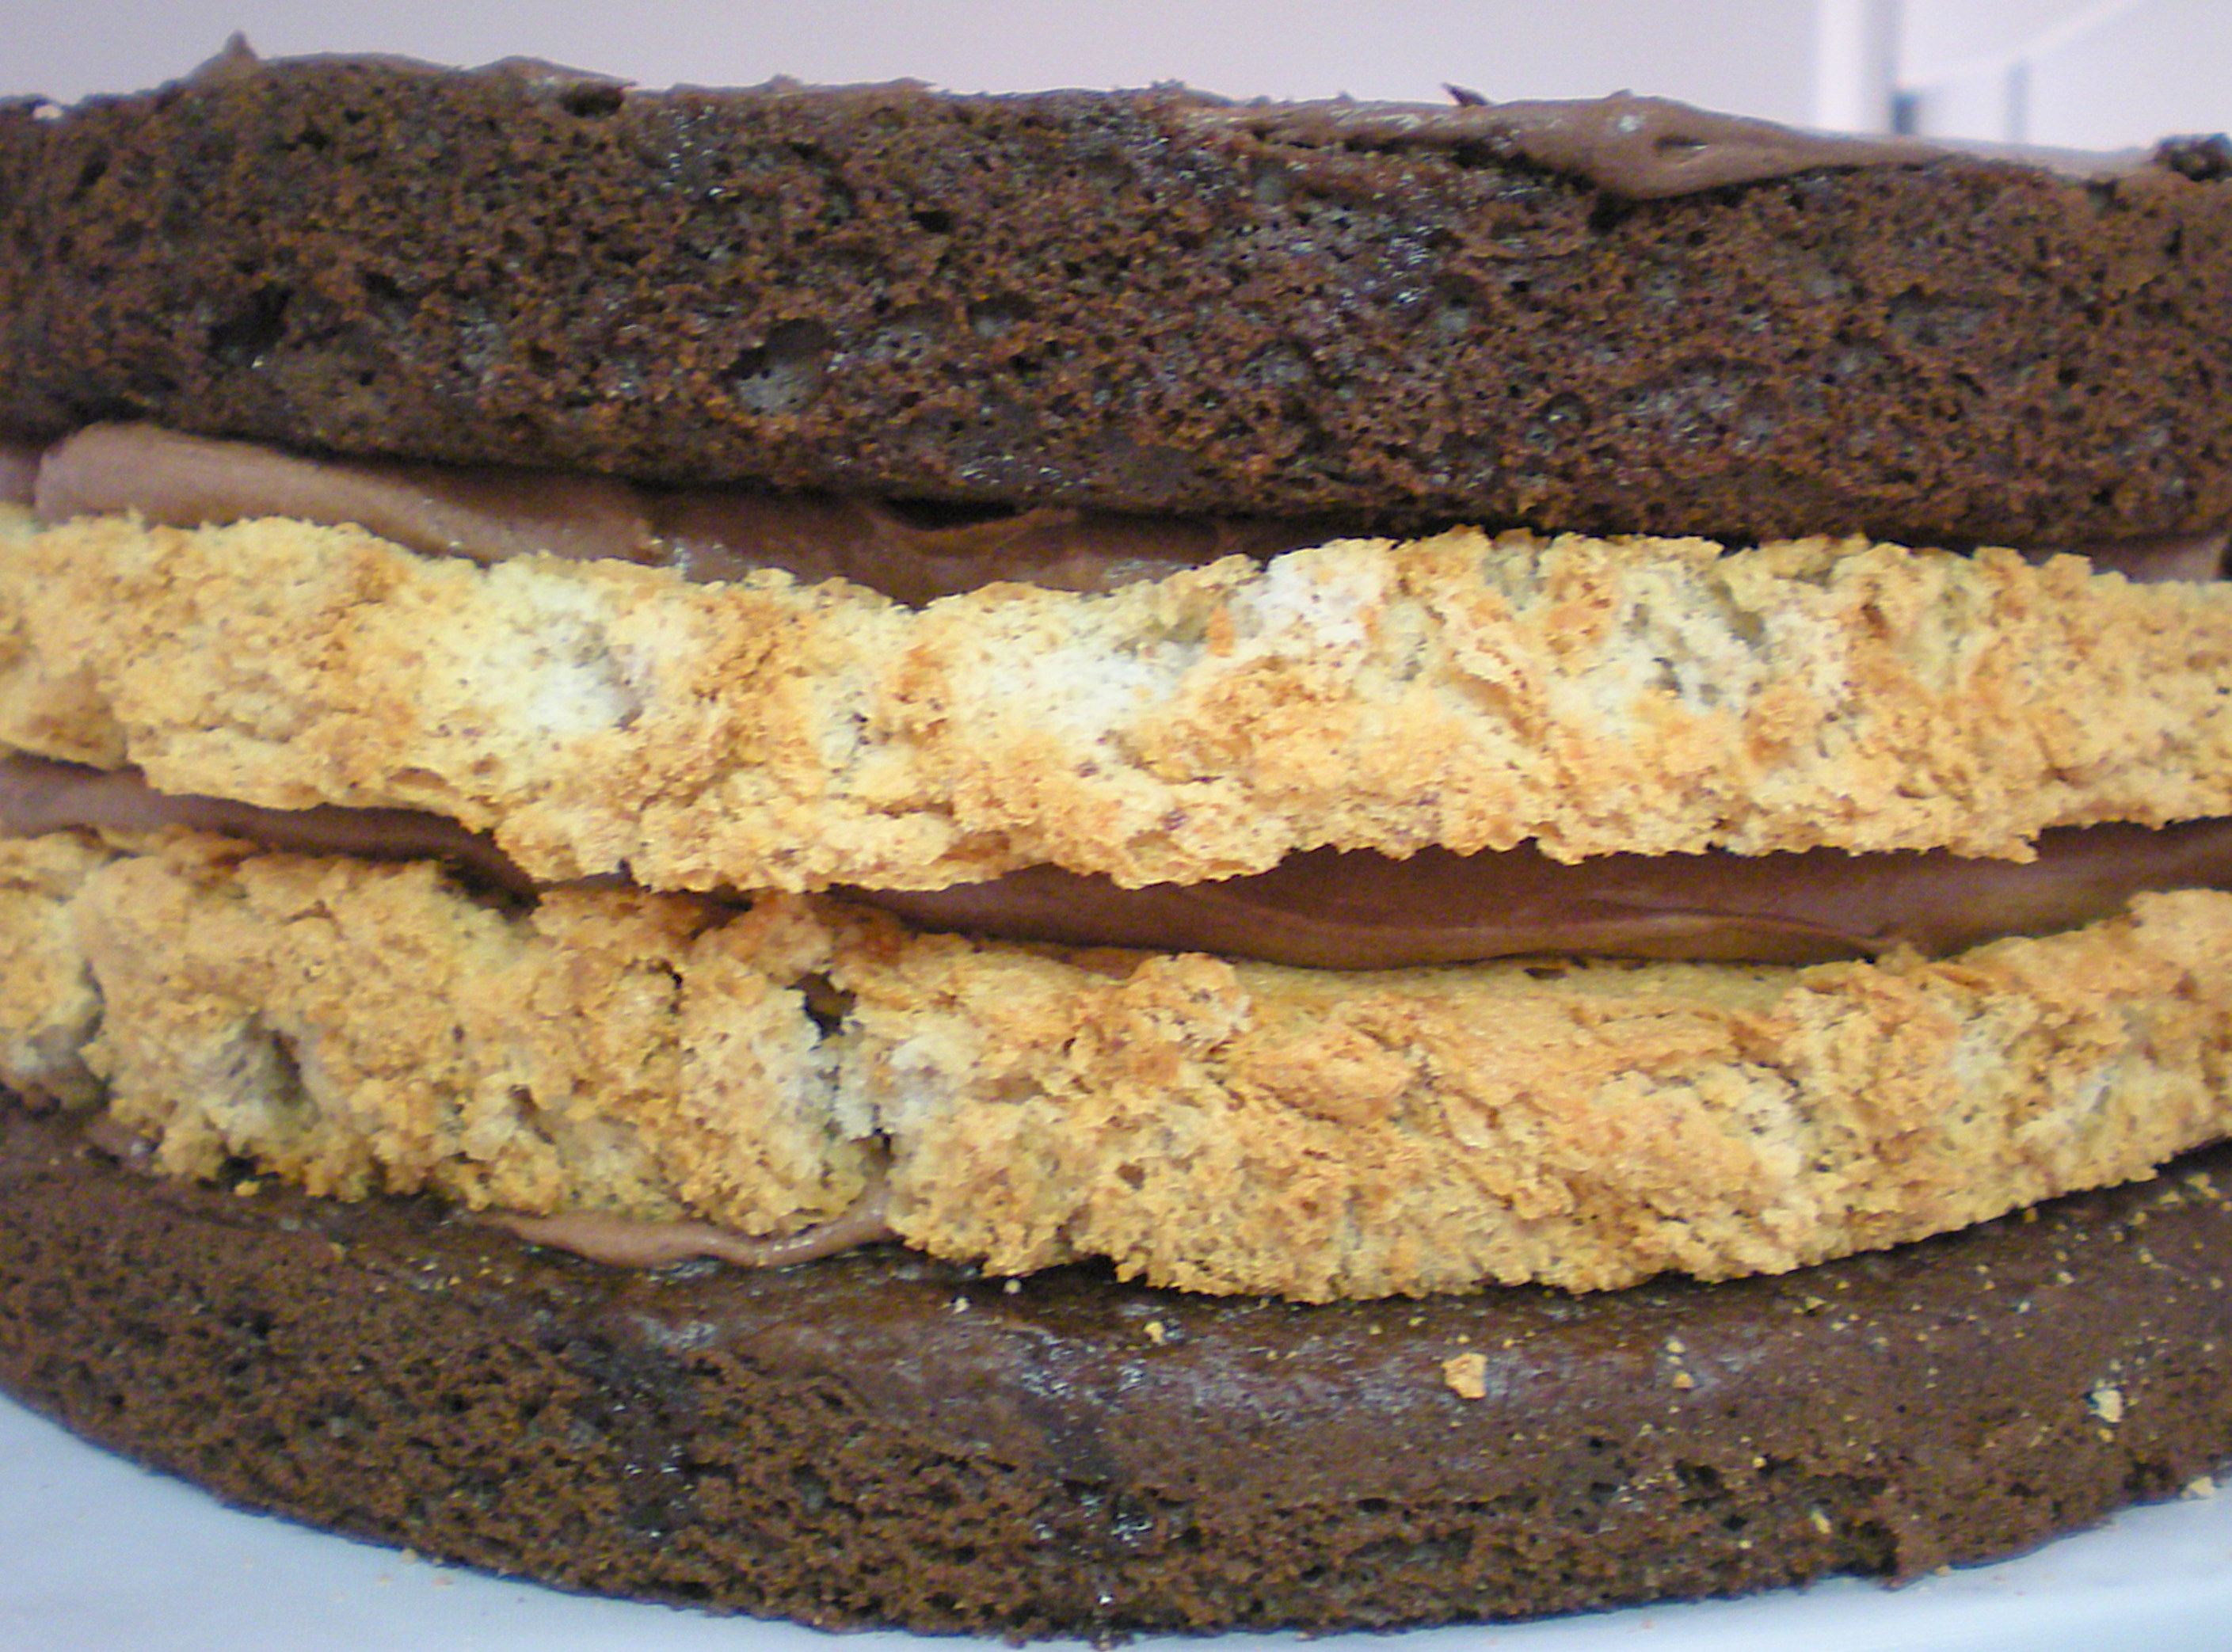
Line a cake board. Place a small amount of buttercream on the cake board to “glue” the first cake layer down. Place a layer of chocolate cake on the cake board. Make the top level with a sharp knife. Wash the cake with a sugar-vanilla wash. Put a thin layer of chocolate butter cream over layer. Add 1/3rd of the mousse. Top with the Dijonnaise. Add 1/3 of the mousse. Top with last Dijonnaise and add the remaining 3rd of the mousse. Even out the last layer of chocolate cake, add to the last layer of mousse. Wash the chocolate cake layer. Put a very thin layer of chocolate buttercream on top.
Using the white buttercream, frost the sides of the cake. Before the buttercream crusts, add the Edible Image (you can purchase from LUCKS). Now decorate around the rim of the top of the cake. Warm some chocolate buttercream and pour into the center of the top of the cake, spreading just to the sides to meet the rim decorations (in this case, florets). Add your formed chocolate plastic, do any writing on it at this point. Add chocolate curls to finish the top. Finish the cake by adding decorations around the base.
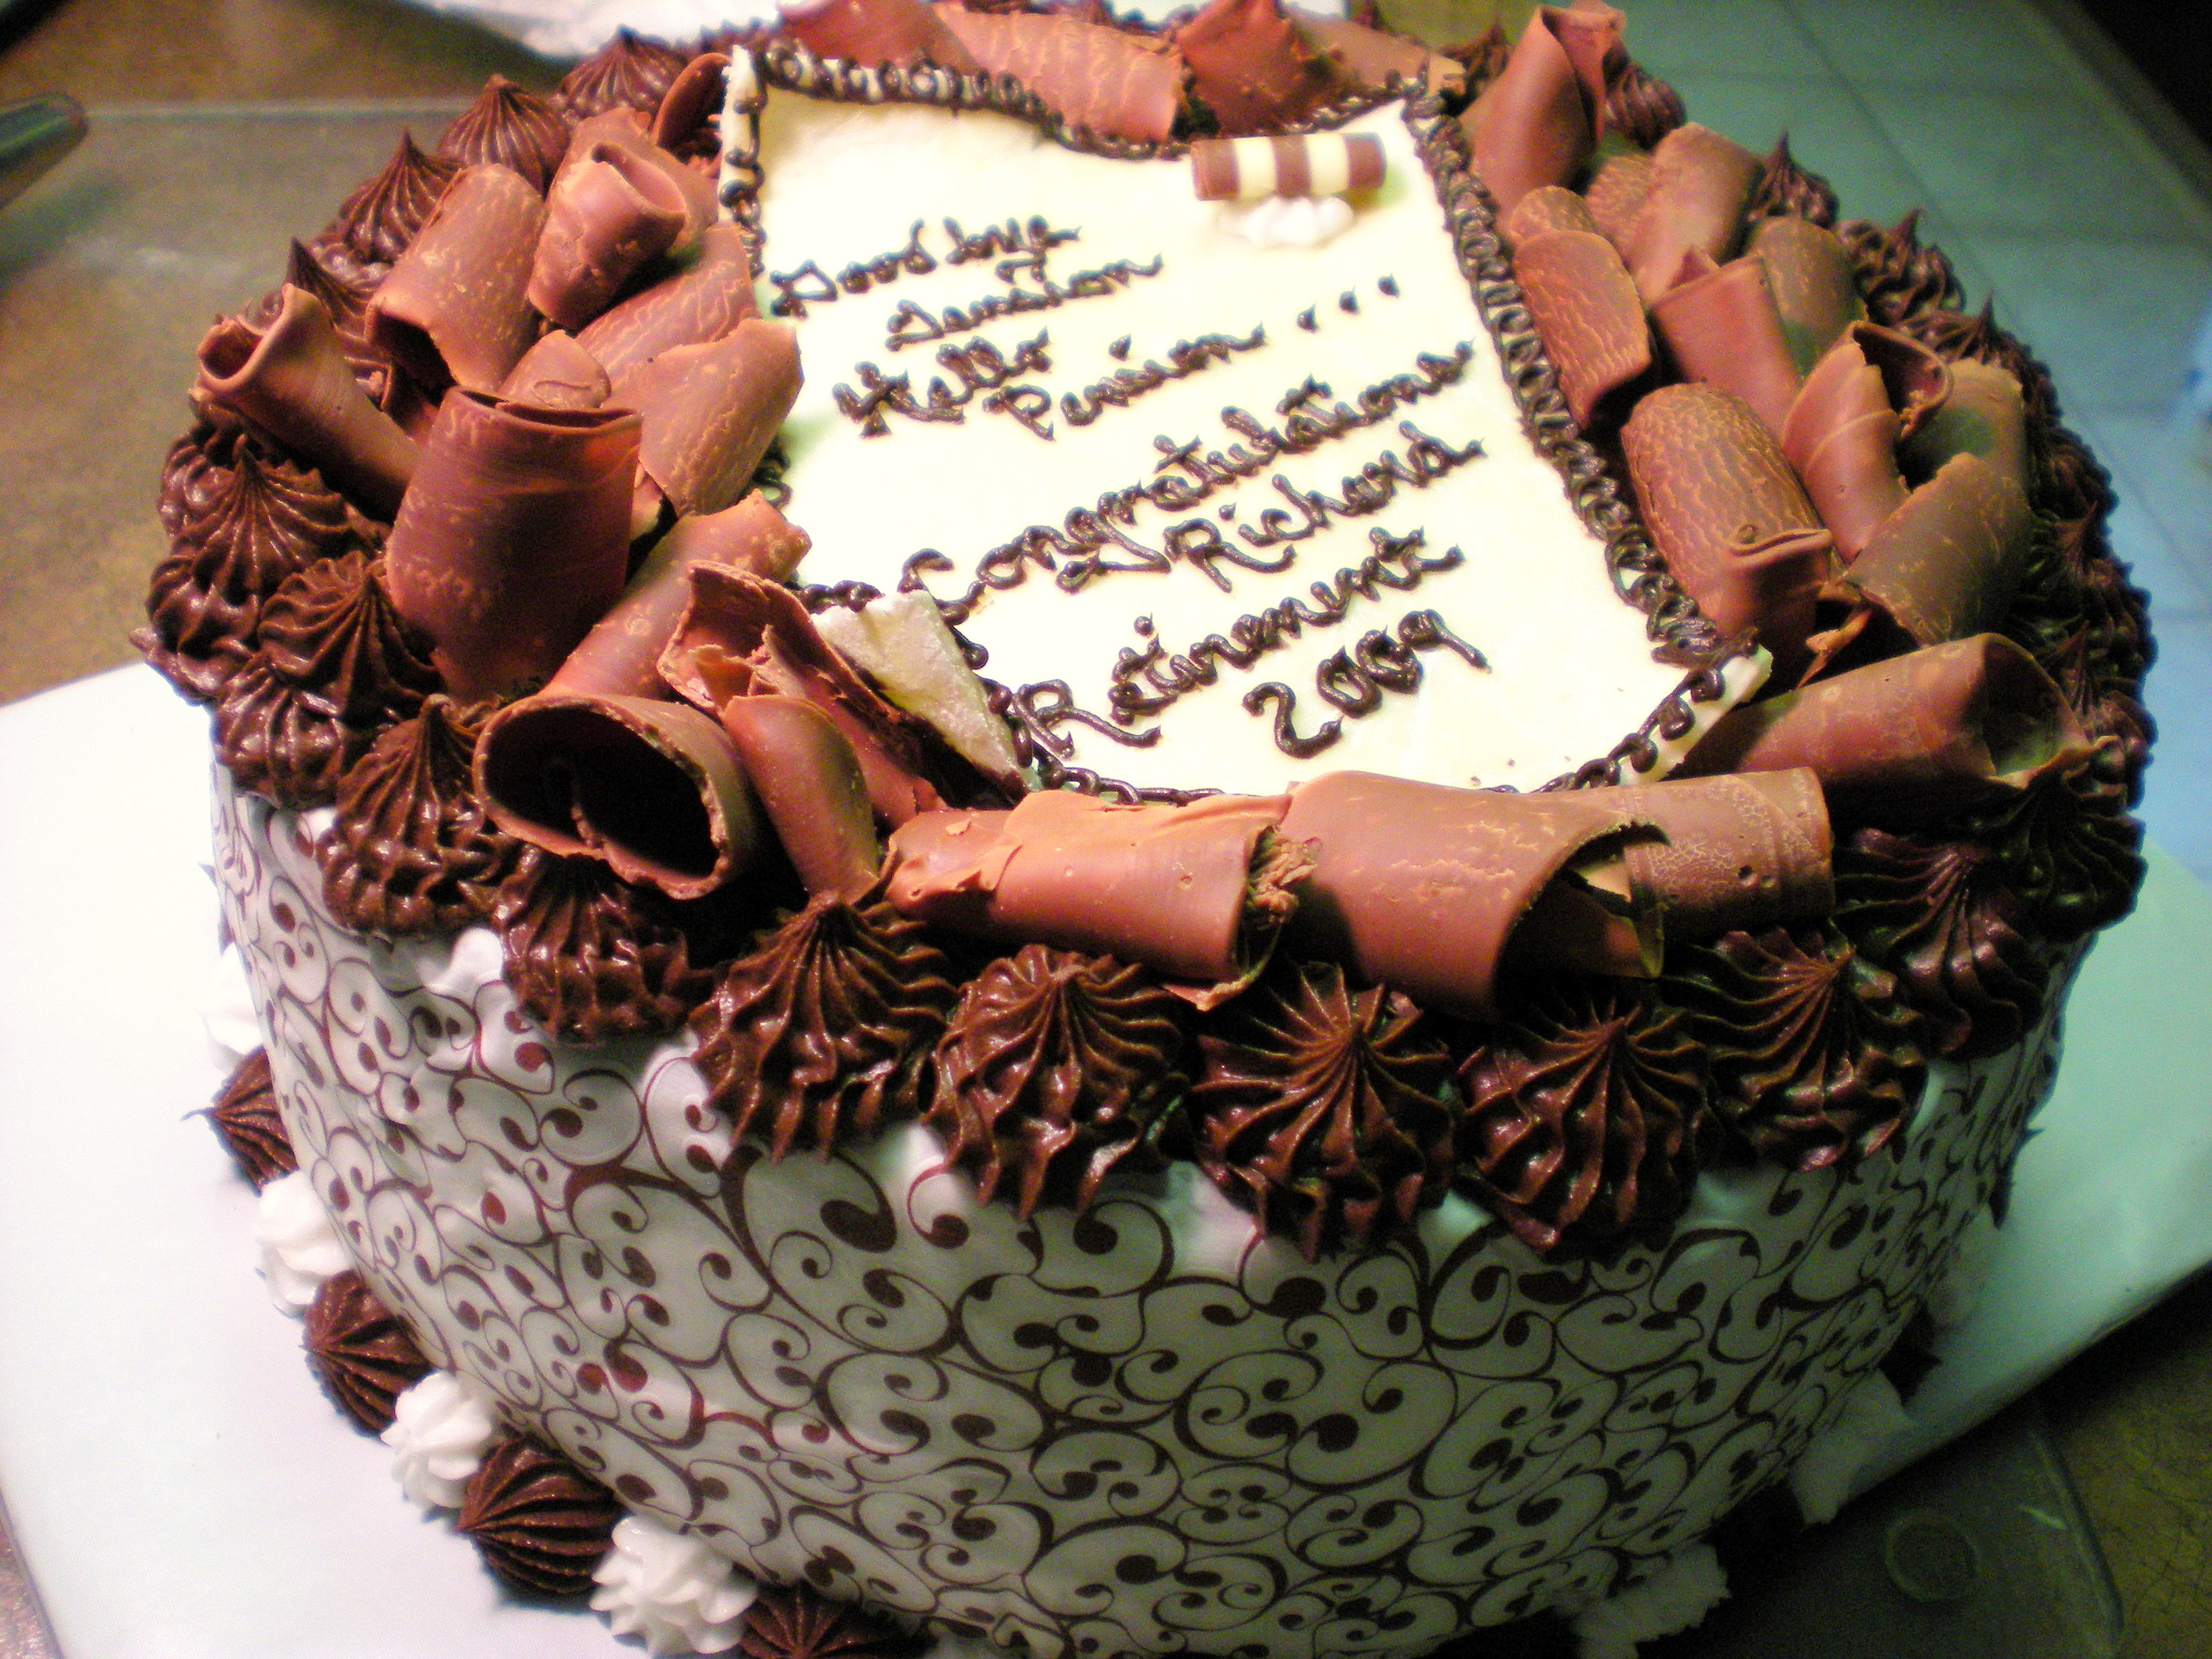
So what are your thoughts about this cake? As for me, it was an easy cake to make and assemble, but I need more practice with the Edible Image around the sides. It needs to be smooth and I could not achieve that. Give me time and practice.
How about that GIVE AWAY! Don’t you love surprises? If so, please leave a comment on this post: GIVEAWAY.


That is amazing! I cannot believe you made that!! I am so in awe of your baking skills 🙂 I made the chocolate pie for CEiMB today which was pretty easy but still the extent of my baking expertise since I had to make the crust by hand. I usually buy them pre-made LOL
You had me scared when I first read “Dijonnaise” because that and chocolate do NOT sound good together; glad you clarified! I cannot believe how yummy and beautiful this cake looks. Great job!
Unbelievable – I can’t stop staring at the photos of that cake! WOW!
Even without the chocolate curls, this cake looks absolutely wonderful!
I have no self-control around these photos because my preferred cake is like this…yummmm…
I don’t have idea if I put Dijon mustard instead the almond meringue, interesting to see hehe.
Anyway, the Dijon sweet version is much better 😉
This is a dreamy cake, no doubt about it!!
Cheers,
Gera
Looks delicious! You did a great job.
Absolutely beautiful! And it sounds divinely rich!
The cake looks incredible, though I have to admit, the dijonaise had me wondering for a few seconds. It must have been delicious.
Oh my, this cake is outrageous. we have never done dijonaise before? we will try it? great post. thanks, s
That is absolutely beautiful. AMAZING…..
What a gorgeous cake! I will save that and try to enhance my skills with something like that for hubby’s birthday next month!
Hmmm, that was interesting. Looks like somethings will always remain mystery.
I myself has been trying to solve the mystery of the legend that forces you to have “earn it before
having it”, for a wile now. Could not understand much though.
Let me know in case you get to understand the mystery of the Old Hound and the Legend
By the way, good writing style. I’d love to read more on similar topics